• What is Simple Suburban Living?

    Homesteadin'. Green living'. Animal lovin'. Square foot farmin'. Tree huggin'. Followin' Jesus. That's Simple Suburban Livin'.

  • Backyard Chickens

    Our little homestead grew with the addition of chickens this year. We are happy to share the journey of raising chicks and building the chicken coop with you.

  • Aquaponics and Gardening

    Simple Suburban Living offers a weekly aquaponics episode that highlights the saga of our indoor aquaponics gardening system. We also share our knowledge of square foot gardening and planting seeds. Our homestead is located in southeastern Michigan.

Showing posts with label DIY. Show all posts

Monday, May 30, 2016

The next step in the bonus room renovation is to get these closet doors built. In a normal situation you can just run out the big box store and buy a pre-hung door. This would include the frame that just slides into your opening and with minor adjustments you have a door. Well, in the case of this bonus room I have slanted ceilings and shorter than standard opening so I need to make something custom. Here is the process that I used, right or wrong they turned out great!


To see the full video on this project click here


 and follow us on....


Saturday, May 14, 2016


In the midst of several other projects I have pending I have started yet another project - this bonus room renovation. 


 We have what is called a "bonus room" in our home above the garage. This is a basic multi-use room that was added during construction but does not have closets and therefore is not considered an actual bedroom. My oldest daughter has been calling this her home for the past five years and it is far past time to get her some proper closets.


I started by removing the carpet and framing in an area under the window for a "daybed" and a closet on each side. The daybed will hold a regular twin mattress and be used for guests and sleep-overs.


The slope of the ceiling will make it hard for the closet doors but there is just enough room for me to walk standing straight up at the tallest point. The closets will later get a custom door and shelf on the inside.  


Time to stand back and admire your work........  Is that a little bit crooked......

With projects like these I always like to call in the cleaning lady to pick up after my mess


The day bed is framed in so that the mattress will sit just below the front wall and below the windowsill so no one rolls out to the driveway below:) This entire area will be covered with 3/4" pine plywood I have left over from the plywood flooring project. This will provide a bit more durability for the kids jumping around and climbing in and out.


At this point I also did the rough electrical. I wired everything into a junction box that will be accessible from the back panel of the day bed. That is where an old receptacle used to be that will now be covered by the bed framing. I will be added one receptacle on the front wall of the bed and two lights, one in each closet.


Sunday, April 17, 2016

 Another addition to the "smart home" here at the SSL Homestead and we love it! Using a smart thermostat can be a great way to control heating and cooling costs and reduce your monthly energy bills! With our intentions to get off the grid someday and eventually get Wind and solar power for our home I am always looking for ways to reduce our energy costs and save us some money!


For years this has been our thermostat, boring, ugly, inefficient, and just plain no fun. This is the thermostat that came with our home and was no doubt the one installed when the home was build 27 years ago. It is digital at least but has no options for scheduling temperature changes.
http://amzn.to/1QJfggh


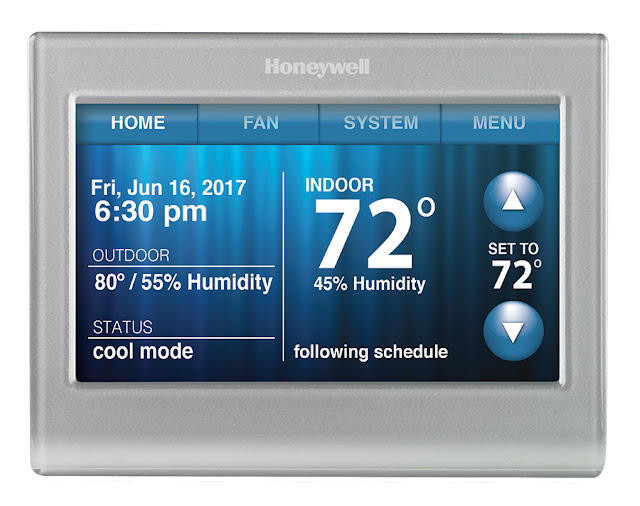
And this.....is the new one, much nicer looking and much easier to use. Now, I know there are a lot of choices out there when looking for thermostats and also many different price options. If you are just looking fort the ability to be able to program different temps for different days of the week you can get a 7 day programmable thermostat for much cheaper. But we wanted more control; full control of the temperatures whether we were home or not home. This Honeywell Smart Wifi thermostat fit the bill. After looking at the competition (mainly Nest) we decided to go with this model, it was about $100 cheaper and met our needs.


First things first, we need to get under the hood. Pop the front cover off of whatever old hideous thermostat you have. You should now see some wires, if you have just heating it might only be 2 or 3, if you have heating and AC you should see 5-7 wires depending on your setup. Either way, Honeywell makes this easy. They send you a bunch of stickers that match the labels on the thermostat so carefully remove each wire here using a screwdriver and then label it appropriately as you remove it. Once all of your wires have been removed and labelled go ahead and take off the entire baseplate from the wall. To watch the video of the installation please click here.


Now you are ready to put on the new baseplate for the new thermostat. Just attach it using the provided screws and/or drywall anchors. Next, connect the wires to the appropriate terminals using your labels as a guide. Each wire should line right up to a labelled terminal on the new baseplate.


 Press on the smart thermostat firmly to the baseplate until it snaps into place. Your new thermostat is now installed! It should now power up and give you a welcome screen with some info. You can then download the app or go to a computer to setup your account. Once this is done complete the setup steps before first use of the thermostat.


Once everything is setup you can control your home's temps from anywhere in the world! I would recommend setting up a schedule for heating and cooling first right from the app so that you can immediately start saving money. While your at work, turn the heat down about 5 degrees and then an hour before you get home have it turn back up. At night, turn it down as much as you can comfortably bear and have it turn back on in the morning before you are awake. Just using a simple schedule can save you so much on heating and cooling!


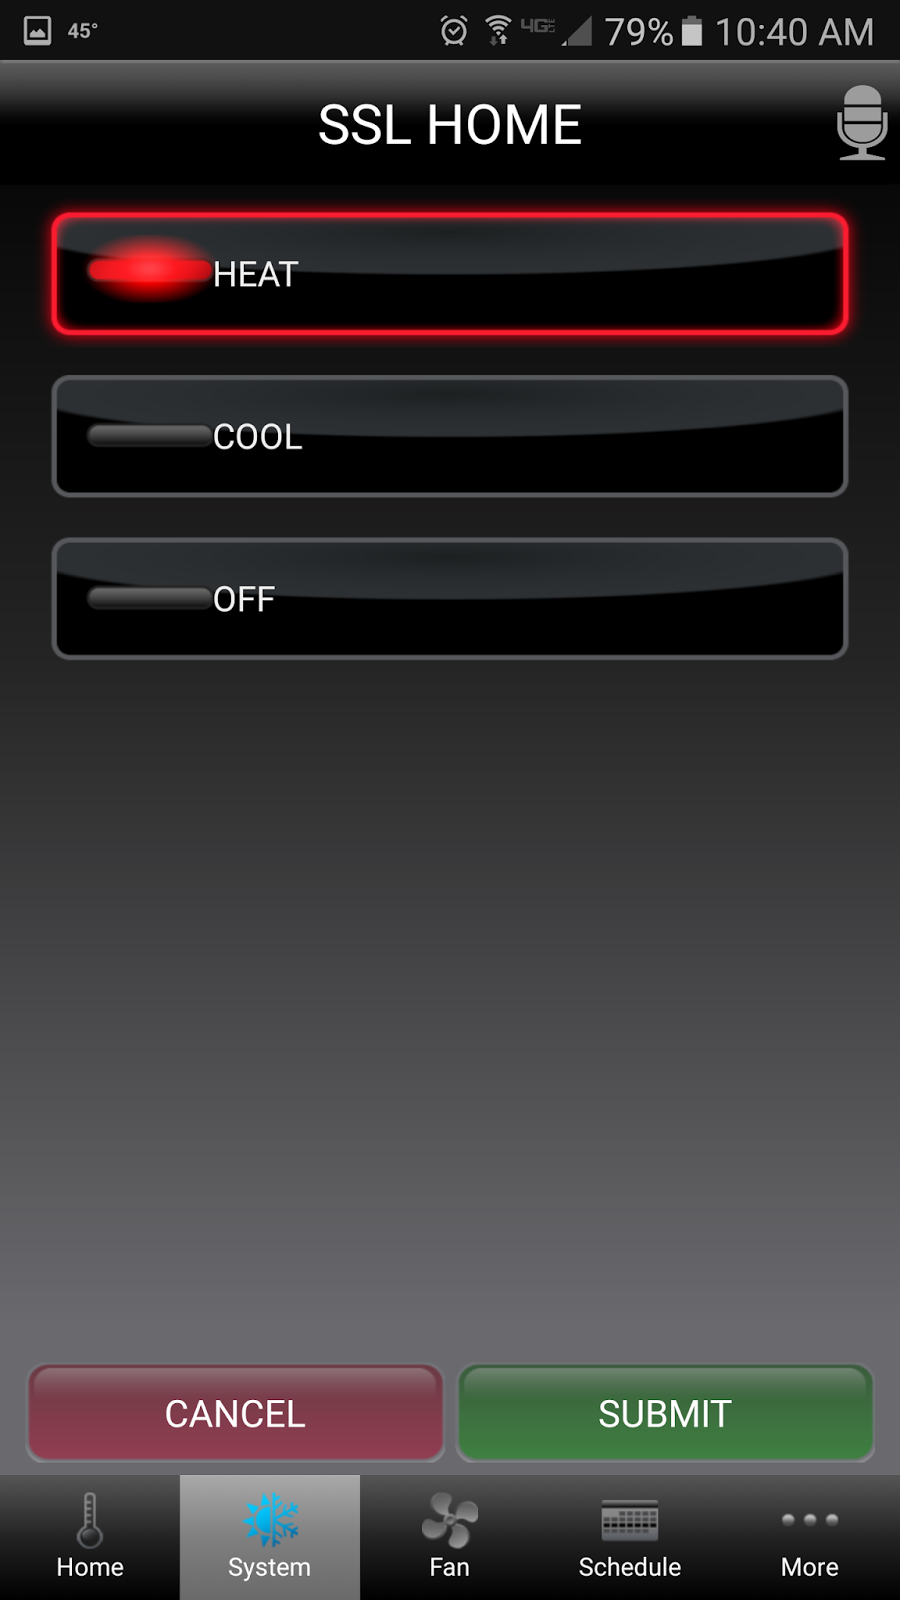
The home screen on the thermostat and the app home screen are almost the same and offer you all the main controls you will need regularly. At a glance you can see the temp inside, outside, humidity, and weather. You can change the temp and deviate from your schedule if you are home on a day off or just feeling like a manual adjustment for the time. It will automatically revert back to your schedule at the next scheduled temp change time.  Now my wife and I can fight over the temp in the house from our phones!

We have been using this thermostat for a few months now and absolutely love it. This is an investment that will pay for itself in savings over the first 2 years easily. There are also so many other expansions in the smart home realm that work with this such as voice control through Amazon Echo and other smart products that can all work together. If you are interested in watching the full setup click here for the video. More info on the Honeywell smart thermostat here.
   
  
All of these products and more recommended items from the SSL Family are available at the

You can follow us on....

Sunday, January 17, 2016

https://youtu.be/sMLdOlvqYCQ

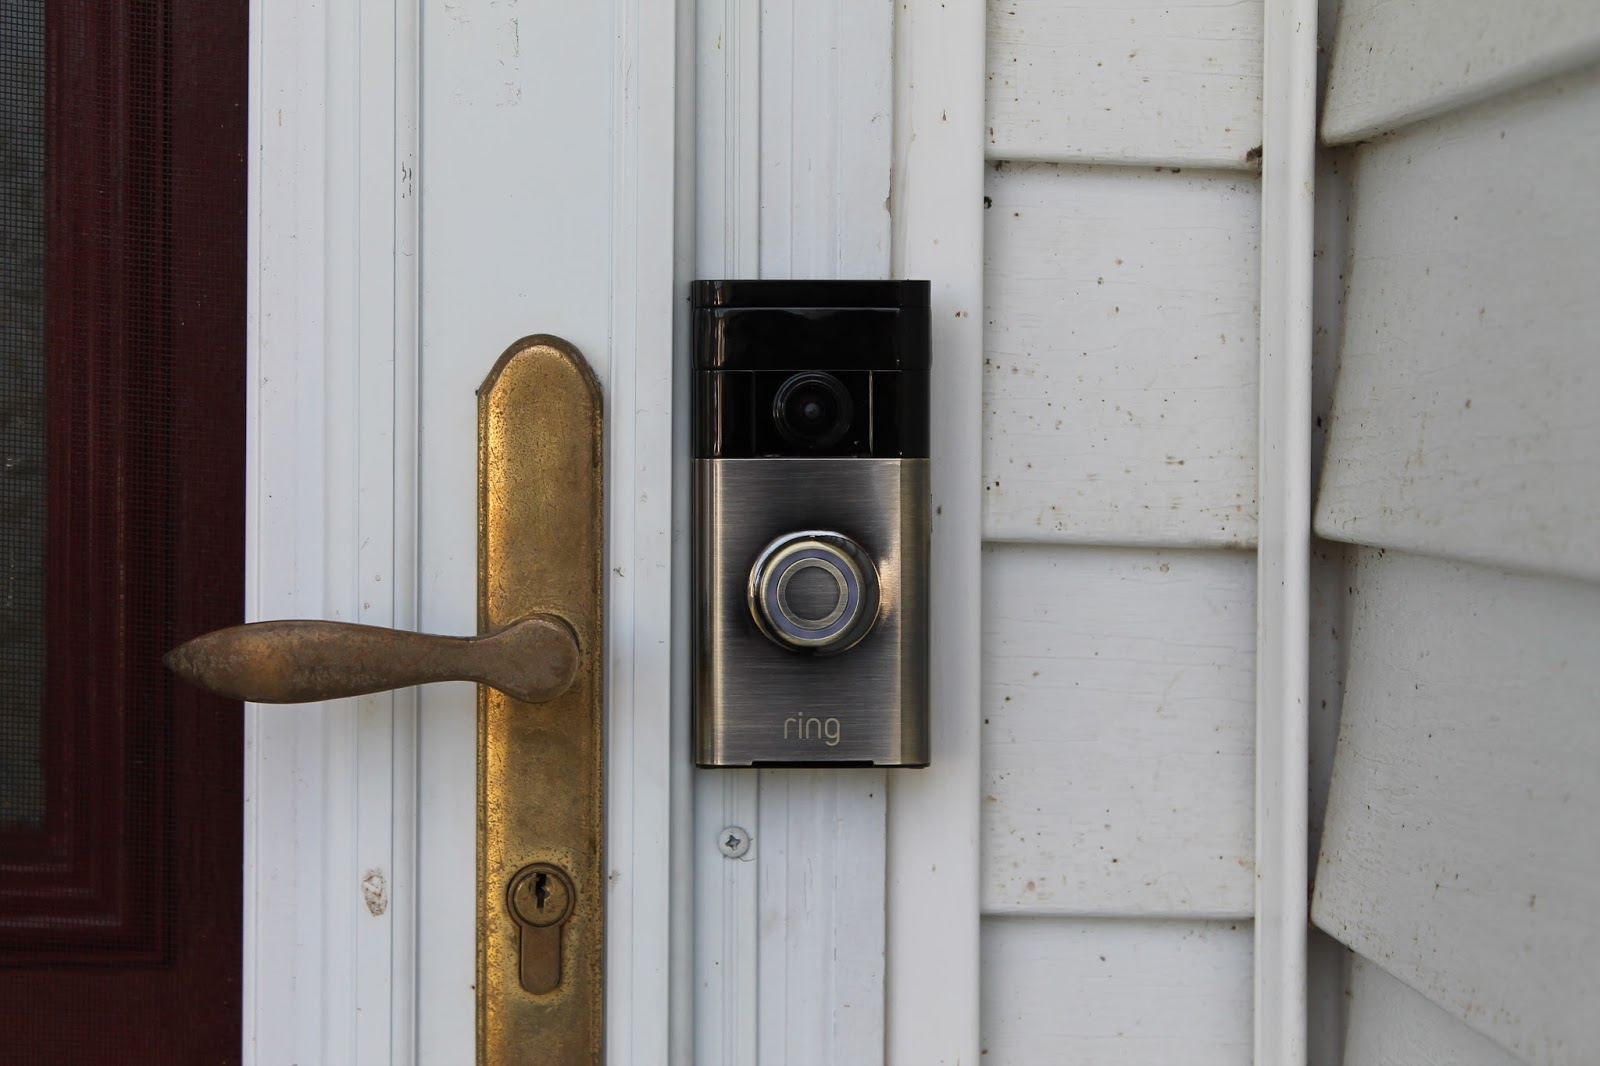
I have recently installed a new video doorbell at our suburban homestead and man is this thing cool! We have been having fun playing with some new technology and thought it would be nice to share the process of installation and what we thought of it with you.

This is not an official review of the product but I will share my opinion of it so far and what I thought of installation. The Ring video doorbell comes with everything you need to get it setup and installed quickly and easily. The setup comes with an easy to follow guide and as you install the app on your phone it walks you right through connecting to your home wifi. Once connected to wifi you can answer a series of questions and then watch a detailed installation video right from your phone while you install or just follow along the paper instructions.

Once the doorbell is connected to wifi the next step is to cut power to the current doorbell switch. This can be done by taking one of the wires off of the 24v transformer which is normally in a utility closet, basement, or crawlspace. I installed two of these this week and the second one I could not find the transformer so I hooked it up without cutting power with no issues. The old doorbell should come off pretty easily with a few screws and the wires detached. If you didn't cut the power obviously make sure these wires do not touch each other or you will have all kinds of issues.

The install kit comes with the mounting bracket for any surface, a masonry bit (if needed) and a level that mounts in the bracket for install. Hold the bracket to the desired location and market the four hole locations. Pre drill the holes and then attach the bracket with the provided screws.
Once the bracket is mounted connect the two 24 wires (it doesn't matter which terminal is red or white). Next, the doorbell itself will clip onto the bracket and then then security screws will screw in from the bottom. The doorbell is now setup and working!


From the app on your phone or the RING website you can now setup the motion sensor range and name your doorbell's location (ours was "front door"). Now get outside and test it out, it should detect your approach to the door and chime on your mobile device before you even ring the bell. Of course, if you ring the doorbell it should chime in your home and on your device. I did notice a bit of a delay with this on my phone especially when I was not at home but it does work quite well.

The cloud recording subscription saves each interaction on the web and allows you to go back and view any motion triggers or rings of the bell at anytime. We love having this device setup and it is so nice while I am working to just be able to look at my phone to see who is at the door rather than stopping work to answer. I can speak to through the doorbell and they can speak back with me, a great addition and beginning to our "smart home"!


Check out the full video here


Please follow us on....

Saturday, January 16, 2016


https://youtu.be/SwyONxd-AuA

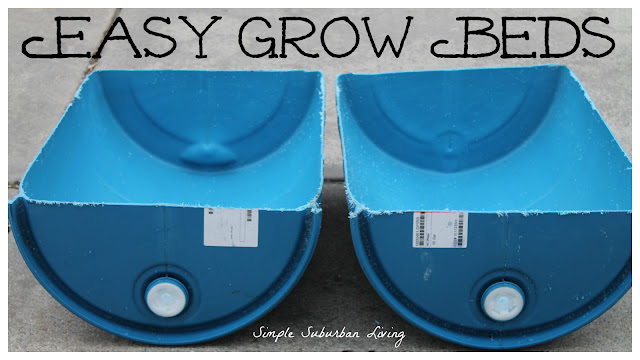
Every aquaponics or hydroponics setup needs to start with a good set of grow beds. But, what should you choose? Cement mixing trays, PVC pipe, gutters, pond liner with wood boxes, troughs, feeders, waterers; there are so many options! The best option in my opinion, for an aquaponics system especially, is these 55 gallon plastic barrels. They are cheap, durable, food safe, and generally come with food products in them so they are easy to prep. Below is a method that I have developed to get these cut perfectly in half and ready for your setup.


I have used both the white and the blue 55 gallon drums but I prefer the blue ones. These generally come with food materials in them and are easiest to clean. In my first system I used the white ones and they had some type of cleaner in them. A quick trip to the power washer took care of it but I was always unsure if I had removed it all well enough. I have had the best luck on Craigslist finding these and pay between $10-$20 depending on how far I want to drive to get them.


 There are a couple of different types of plastic that you should be aware of when working with anything you are growing food in. Some  grades and types of plastic are safe while some are not.
HDPE, Vinyl, LDPE, PP, and PS are some of the labels that you will see, most commonly HDPE, which is High Density Polyethylene. All of these listed here are considered food grade or food safe plastics. I have also seen the label above "PE-HD" with the same recycling symbol (2). I can't say why it is labeled differently but it is also supposed to be High Density Polyethylene and food safe.


 Now down to the fun part, cutting stuff! For a perfect grow bed you need two perfect halves. There are two methods to accomplish this. the first is to just follow the seem with a circular saw and cut the barrel in half. The only problem with that method is that the seam goes right through the bung on each side of the top lid rendering them useless. This is fine if you do not plan to use them and I have actually done this for some of mine. However, the best way is to leave them intact. So how do you cut a cylinder perfectly in half? Well, the easiest way is to first make yourself a larger square. I screwed these two pieces of 2X4 together at a perfect 90 degree angle to use here. You could also use a large carpenters square.

Start by measuring out and marking the center point on the top of the barrel lid. Then use a square to draw a perpendicular line across the top of the barrel. This will give you your references to draw down the sides. Now, use your large square placed on the lid to match up to the line on the top and transfer it down the side of the barrel on each side. You can then transfer the line onto the bottom on each side and connect the two together. You now have a perfectly straight line to follow with your saw. You can cut these anyway that you would like but I have found a circular saw to be the easiest. You could also use a reciprocating saw, saber saw, jig saw, hand saw, router, dremel, angle grinder, etc.


What you end up with is two perfectly neat and equal halves with the threaded bungs intact and centered at the bottom of each barrel. These are very useful for connecting barrels together, external bell siphons, water supply piping and other things I am sure I have not thought of yet. I will talk more about installing these and building a frame for them in a later post and video, until then, thanks for stopping by!
Full Video here
Please follow us on....


Thursday, January 14, 2016

https://youtu.be/urQMSQ9UKf0

I was asked to help with some props for the Christmas play this year and so I signed up to make some giant candy canes, seems easy enough, right? I started by looking around on Pinterest, Google, and YouTube for ideas. I wasn't impressed with what I was finding and so I came up with a design of my own. There are some great ideas out there using larger PVC piping and cardboard tubes but the cost and time required was too much for what I was in for. So I decided on the following process.
You will need
2 10' sections of 1/2" PVC pipe
2 rolls of white duct (duck) tape
2 rolls of red duct (duck) tape
4 pool noodles
Hair dryer or heat gun
Some scrap wood and piece of plywood (could also use a deck or come up with a  different way to bend the pipe)

Step 1 - Start by laying out the shape of the candy cane on the plywood. I used a trash can lid to trace the curves and adjusted it until I liked how it looked.


Step 2 - Cut up some small pieces of scrap wood and nail or screw them along the line you have drawn. Alternate pieces on each side of the line leaving space in between for the PVC pipe


Step 3 - Start to feed the PVC pipe through the template heating it with the heat gun or hair dryer as you push it through. This process takes a bit of time, just keep applying heat, alternating sides, and pushing the pipe further into the template in increments.


Step 4 - Once the pipe is shaped and cooled pull it out of the template and then slide two pool noodles over the PVC pipe. Cover all of the pipe except for whatever is left over a the bottom. You can cut this extra piping off and make the candy canes as tall as you need them to be.


Step 5 - Start with the white tape and wrap a piece around the seam between the two pool noodles. Then starting at the top, wrap the white tape around the noodles on an angle until you get to the bottom. Do this about three times until all of the pool noodle is covered in white tape.


Step 6 - Starting at the top, wrap the red tape around at an angle (like a candy cane) until you get to the bottom. This is the hardest part, try to keep the tape flat and evenly spaced as you wrap it. This is best done with two people, have one person hold the candy cane and the other hold the tape. Have one person turn the entire candy cane as the other applies the tape. You may have to work with it a little bit before you get it the way you want it.


Check out the full video here
Red Duck tape - http://amzn.to/1NUawEL
White duck tape - http://amzn.to/1NUayfG
Pool noodles - http://amzn.to/1NUaAEA
All of these products and more recommended items from the SSL Family are available at the
Please follow us on....

Wednesday, January 13, 2016


Stop buying expensive chemical cleaners! We are not the first to use this type of cleaner but it is simple and effective and costs almost nothing! This is the process we use to  mix up a cheap and simple cleaner that can be used on counters, windows, bathrooms, etc. 

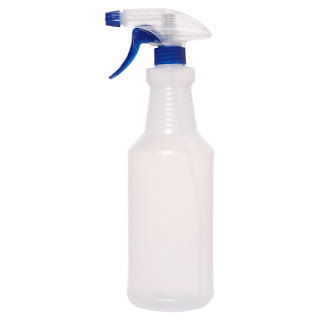
The first step is to grab a cheap dollar store spray bottle or use an empty spray bottle of your choice just be sure to wash out whatever was in it thoroughly.
http://amzn.to/1PqW2H9

There are many ways to make your own cleaners depending on what you have access to. We like to start with vinegar in ours and mix with some warm water as a base. I general fill the bottle up about 1/4 with warm water and then the rest of the way with vinegar. This is not an exact science so you can adjust it as you need.

 At this point you have just created a very effective and cheap cleaner. You can stop right here and use it for counters and anywhere you would normally use Fantastic or similar cleaners. But if you want something with a bit more cleaning power, a better scent, and antibacterial properties essentials oils will be needed. The SSLFamily Mom as a post on essentials oils here and links to where you can buy them if you want.

There are infinite combinations and concoctions that you can make with essentials oils but I love to add lemon to just about anything, cleaners included. I normally add between 15-20 drops of the lemon oil, it is cheap and adds a great fragrance to the cleaner as well as helps the cleaning power. I have also recently started adding oregano oil as well. Just a couple of drops; this stuff is more expensive and potent! The oregano oil acts as an anti-fungal and anti-bacterial in the cleaner. Added bonus - smells like a pizza while you clean:)


We have not purchased any cleaners in quite some time here on the Simple Suburban Homestead and I don't see any reason for us to go back. Using these homemade and chemical free options is cheaper, safer, and as an added bonus the kids can use them too! No need to open windows when you clean the bathroom or worry about the kids getting things in their eyes or on their skin. Although I am not sure I would spray this directly in your eye (it would probably not feel  good) lemon in the eyes, ouch!

As an added feature you can sprinkle some baking soda on countertops, floors, etc and then use the spray cleaner. The vinegar and baking soda react and the foaming can help lift and wash away dirt as well.


Check out the full video here

Lemon oil -  http://amzn.to/1HRg80d
Oregano oil - http://amzn.to/1HRgmo2
Spray bottles - http://amzn.to/1PqW2H9
All of these products and more recommended items from the SSL Family are available at the
You can follow us on....

Tuesday, January 12, 2016


https://youtu.be/MlDDEi5K5QI

When I began building my indoor aquaponics system a couple of years ago I made a few (a lot) of mistakes preparing the barrels and cutting holes. I found various easy (but not very pretty) ways to seal up these lapses in judgement. The most common method I have used to fix a 2" or smaller hole was with small pieces of plastic and silicone. I cut off the lid of a plastic food container like sour cream or cottage cheese and then used small screws and silicone to seal up the hole. This worked great for a while but I noticed the silicone seems to break down after about a year and leaks began to form.


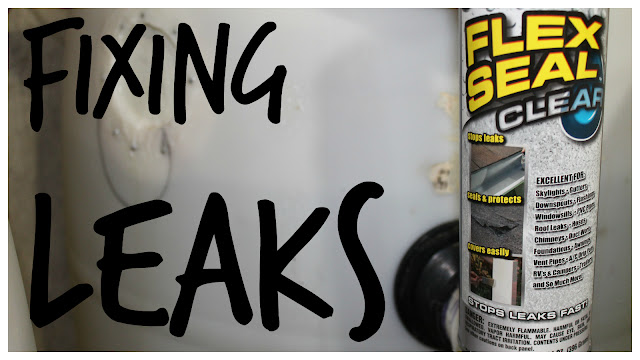
A few weeks ago I was contacted by Flex Seal to try and demo some of their products and I couldn't have been happier since I was sick of emptying little plastic drip catching bowls! The product comes in several colors so I choose to try the clear for this application since it would look the least intrusive on the white barrels. Flex Seal is a spray on rubberized coating that can be applied to pretty much anything that needs to be sealed.


http://amzn.to/1Ny8R17


I started by turning off the aquaponics system and bringing the water level below the area that needed to be patched up. The surface needs to be clean in order for the Flex Seal to stick so I removed any old silicone and then used my homemade spray cleaner to remove any dirt, oils, or debris from the area.


Once the area was prepped I started to spray on the Flex Seal. After some vigorous shaking I applied a light first coat and let it dry for a few hours. I then came back and sprayed on a second coat. I let this dry overnight and then first thing in the morning I sprayed on a few more coats letting it dry for 3-5 hours in between. This gave me a nice buildup of the sealant over the area and since the product is a bit thin going on it seeps into all of the small cracks and holes to create a fairly ridge waterproof seal.


Once the product had fully dried (24 hours to be sure) I fired on the pumps and air stones and let things start cycling as normal. It works! No leaks and the area looks much better than I expected and doesn't catch your eye when you look at the system. I couldn't be happier with Flex Seal so far and I am starting to think of all of the others areas I could use it around the house.


Check out the full video here

Flex Seal Clear - http://amzn.to/1Ny8R17
Flex Seal Black - http://amzn.to/1Ny8TpS
Flex Seal Website - http://flexsealproducts.com/

All of these products and more recommended items from the SSL Family are available at the Simple Suburban Living
follow us on....

Saturday, January 9, 2016

https://youtu.be/p-ZlH9lwnso
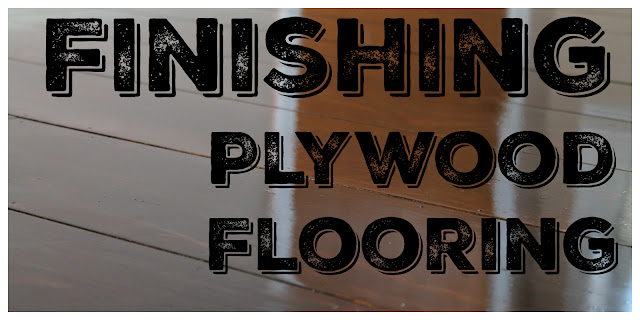
Plywood flooring is complete!  I could not be happier with  how this turned out and may end up doing the other rooms in our home with this same process. If you have not seen the process of creating the plywood flooring please check out the article here or the full video here.


Before I got started with staining I chose to run over the entire floor with a 150 grit power sander. I did not spend a whole lot of time on it just enough to take any dings, dents, and scuff marks out that I most likely added while installing the flooring. Once this was done I cleaned the entire room as best as possible with a vacuum and damp towels and we were ready for stain.


http://amzn.to/1jxBmnY

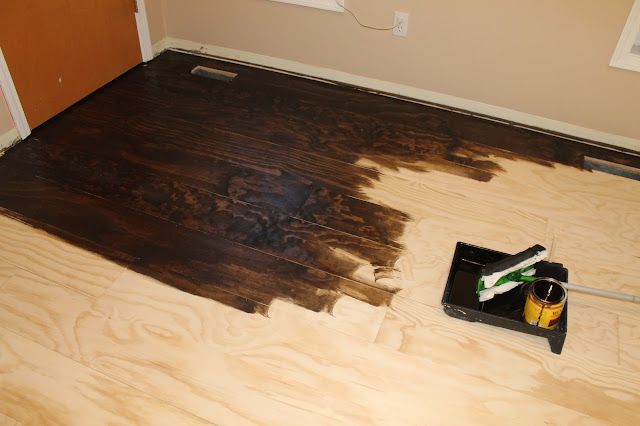
I chose a Minwax dark walnut stain to give the floor a dark old farmhouse kind of look. You can apply this stuff many ways but what I found to be the best was a homemade creation as usual:) I used an old Swiffer mop handle and head and stuck a cotton t-shirt to it. I dipped the contraption in the stain using a paint tray and then spread it on the flooring. This saved my back, a lot of time, and applied the stain fairly evenly.


  After the first coat things were starting to look really good but a little bit lighter than we had hoped.


 Two coats of the stain were applied about 24 hours apart which gave the floor a deep rich color that we absolutely loved. It was really starting to come together now. This is the point at which I began feeling relieved that this project was going to turn out exactly  how we wanted it to.


http://amzn.to/1O2bSHJ

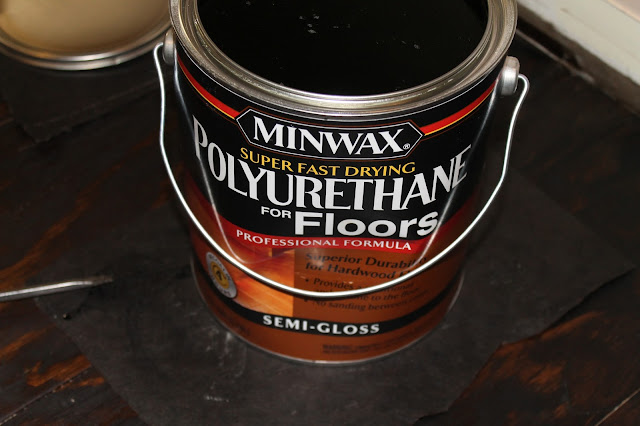
Once the stain fully dried we were ready to start putting on the final protective coating. We chose a Minwax flooring polyurethane to seal the floor.  This seemed to be the best, most durable, and easiest to apply option.


I started applying the poly one coat at a time with a small paintbrush. This method worked very well and although a bit slow, this stuff goes on very easily. I applied 4 coats of poly allowing each coat to dry for 6-12 hours before putting on the next. This is a quick drying poly so you can put it on in as little as 4 hours if you would like.  I did not sand between coats; as directed this stuff is supposed to dry pretty flat without needing to sand each coat.


 After 4 coats were applied I chose to do one round of sanding to knock out a few bumps I was starting to notice and some dog hair that somehow floated into the room and had dried into the finish, stinkin' dog! I used a power sander with 220 grit paper and I did not push very hard at all while sanding. I just let the weight of the sander float on the floor until it was smoothed over very lightly.


Next I cleaned the floor with a damp cloth and applied the final coat of poly. I applied this final coat a bit thicker and let it dry over night.


After the final coat was dry the floor was safe to walk on and inspect and it looks awesome! It turned out much better than I could have imagined and the poly makes the flooring so durable. Even though this is a "soft" wood (pine) it is now very hard and resists scratches and scuffs very well. I will do a follow up on this project next year and update on how well it holds up to the changes in seasons and wear and tear or a 9 year old:)  

How much did it cost? The room that I was covering was about 165 square feet and the total cost was about $253. This works out to about $1.50 per square foot and is much cheaper than traditional hardwood flooring.


Check out the full video here


Dark Walnut Stain - http://amzn.to/1jxBmnY
Polyurethane - http://amzn.to/1O2bSHJ
Porter Cable Brad Nailer - http://amzn.to/1O2chdh

All of these products and more recommended items from the SSL Family are available at the Simple
Suburban Living General Store


Please follow us on....